Easy Step by Step How to Draw Misconception

How to Draw Realistic Lips Step-by-Step in 3 Different Ways
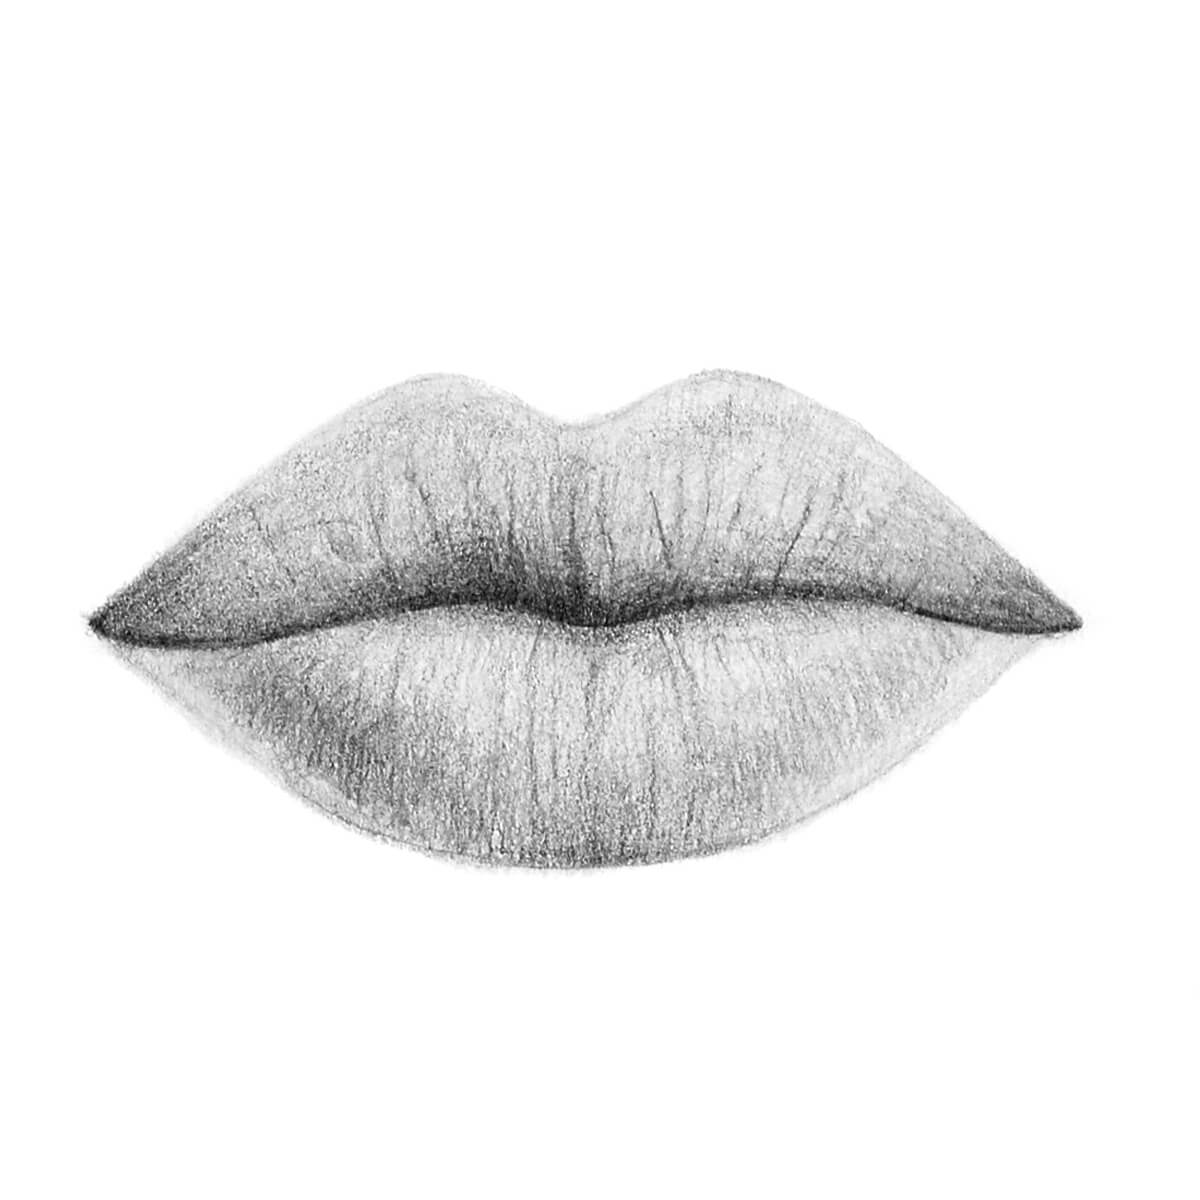
Realistic Lips Drawing in Pencil
Supplies Needed:
- Drawing Pencils
- Eraser Pencil Kit
- # 2 HB Wood Pencils
- Mini Sketchbook
Whenever you're creating a realistic portrait, one of the most important features will be the lips outline. They're an interesting part of the face because they are a huge part of our expressions and can help define how a portrait looks. You always want to make sure that while you're drawing your portrait that your lips are at the proper angle. For example, if you're drawing a portrait at a ¾ view, you'll need to make sure your lips are at the appropriate angle as well. We'll show you how to draw 3 different pairs of lips step-by-step so you can follow along and use this guide to help you with your next portrait. Grab some sketching supplies, get comfortable and keep reading to see how we draw realistic lips.

How to Draw Lips in a ¾ View
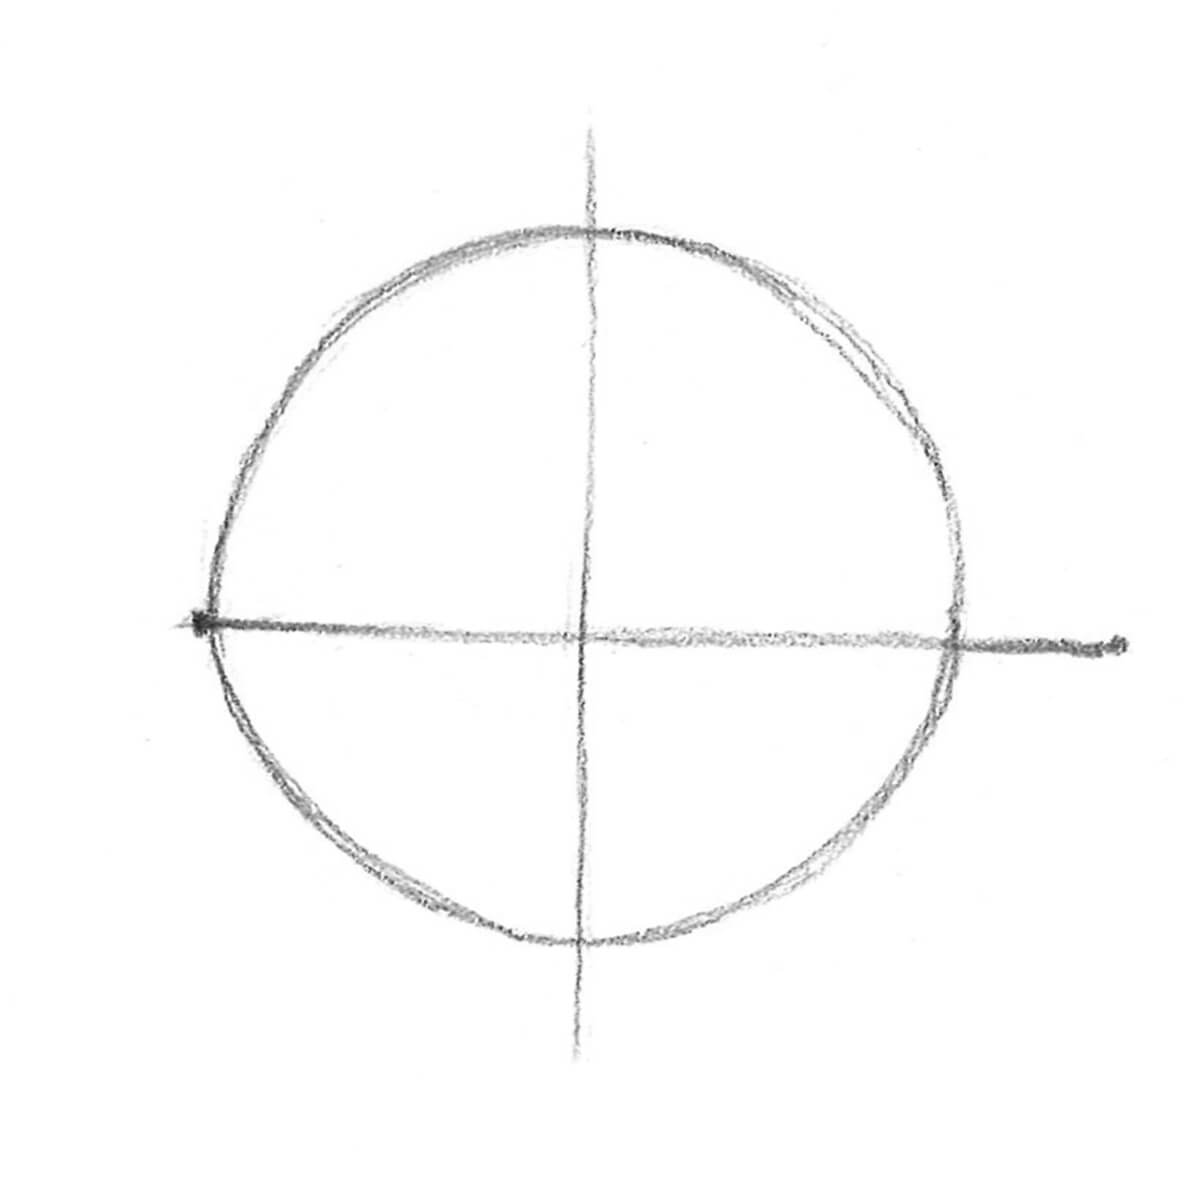
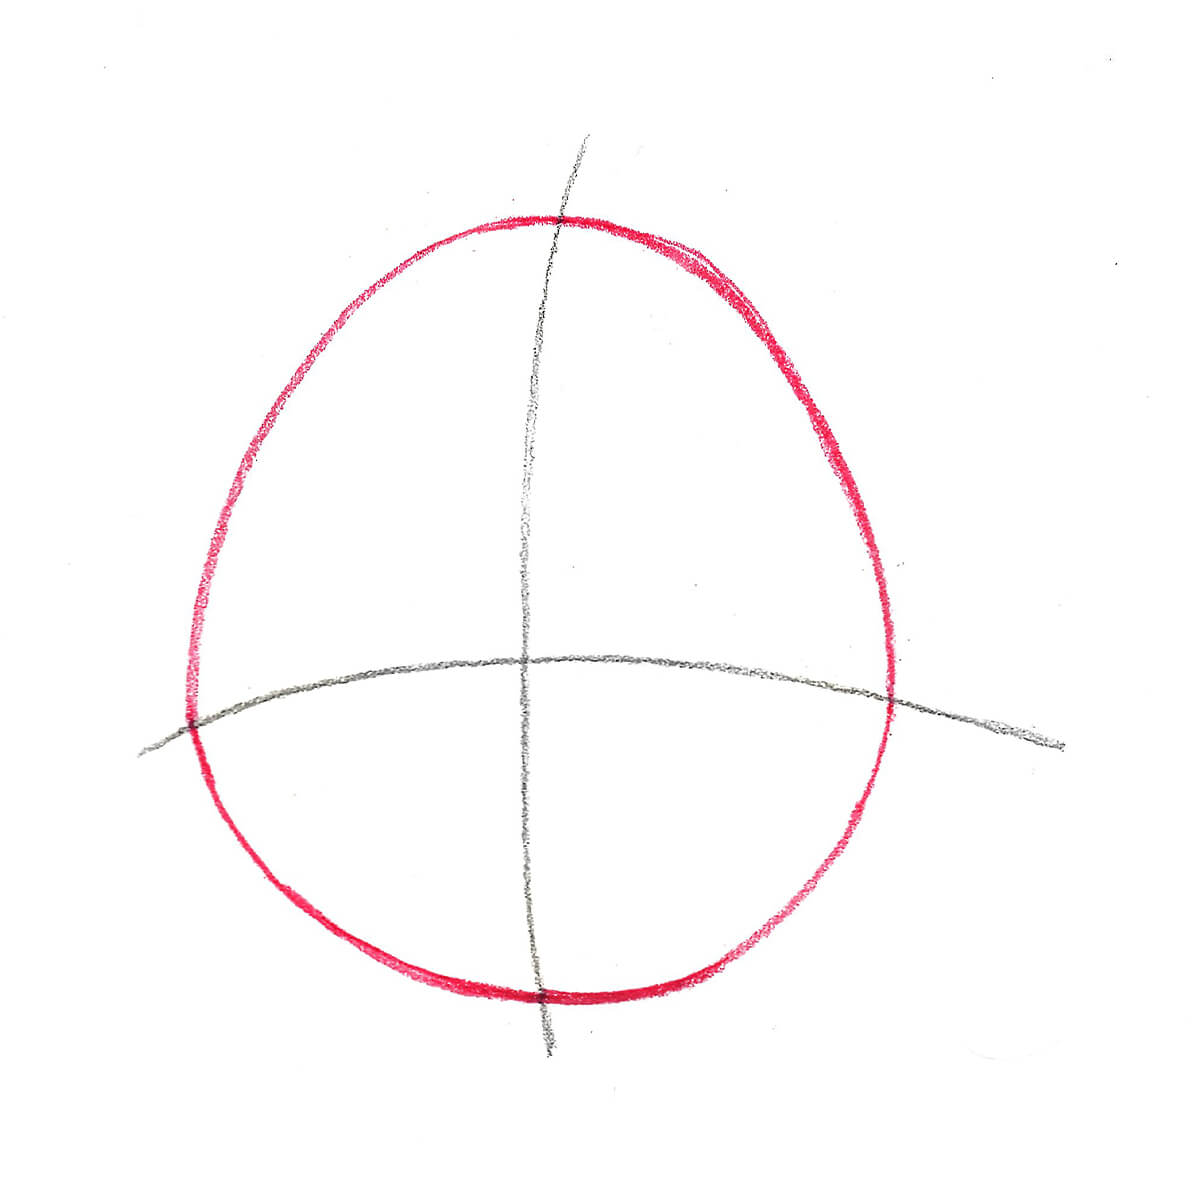
Step 1
Sketch a circle with a vertical line in the middle. Add another perpendicular line just below the middle and extend it slightly beyond the circle.
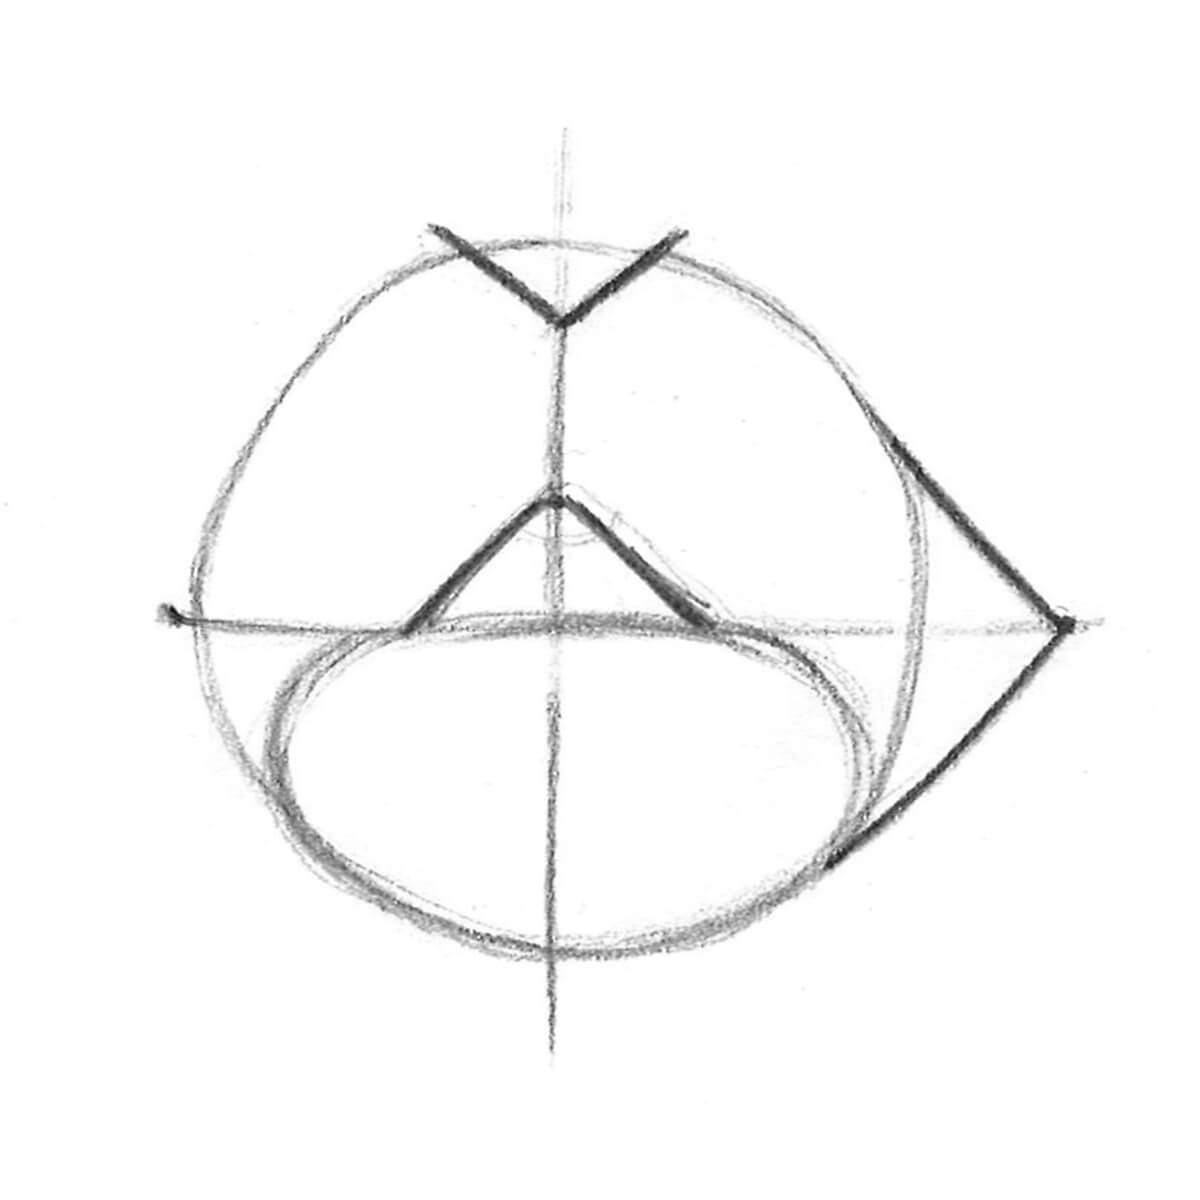
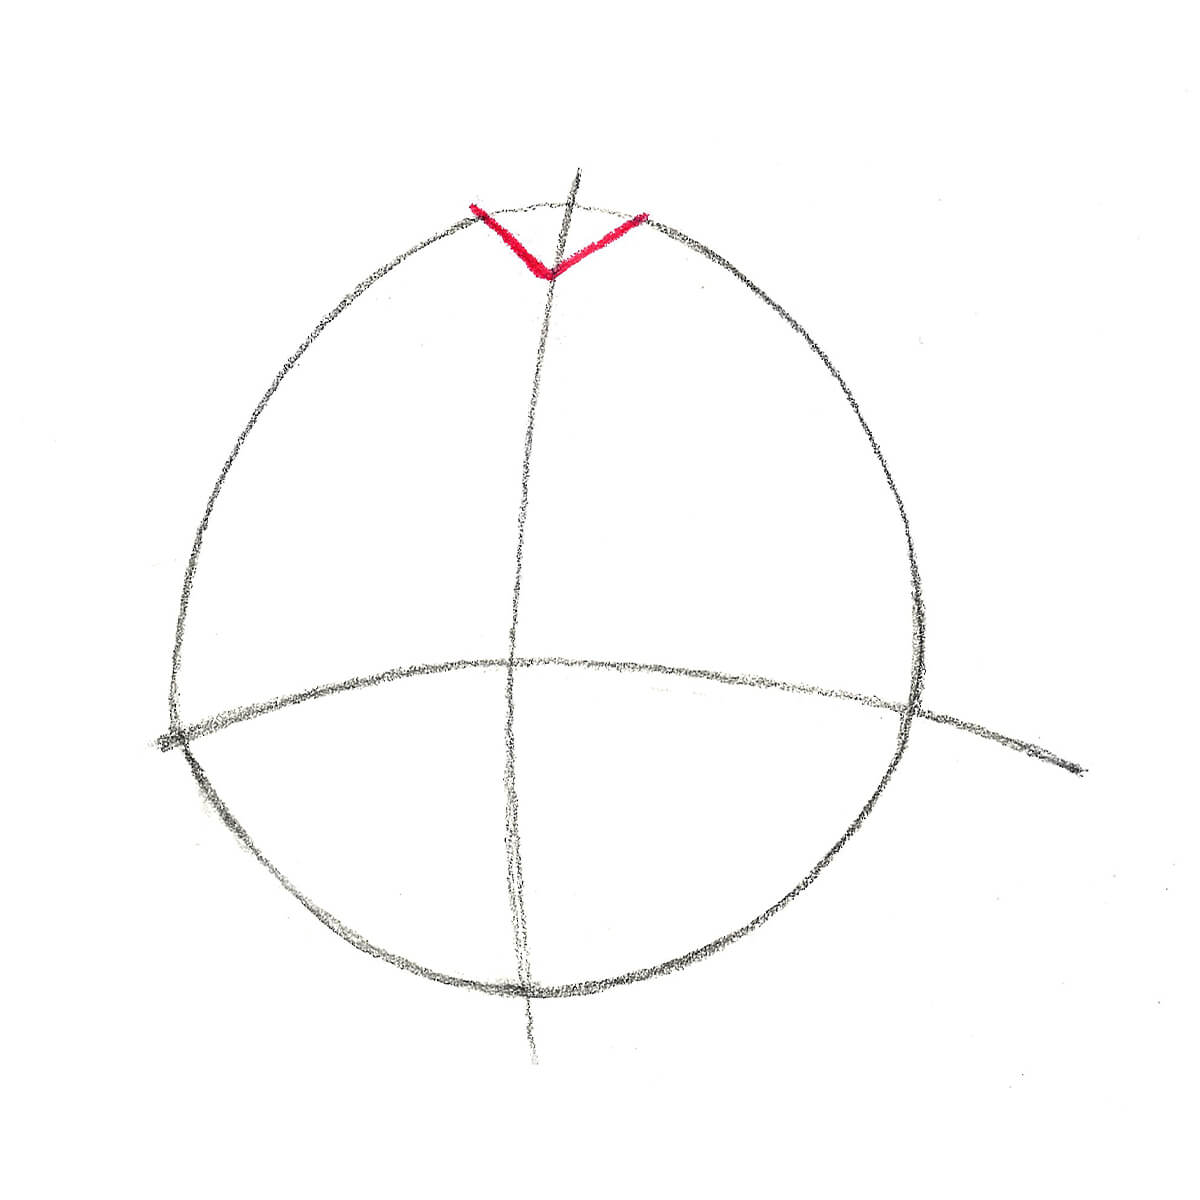
Step 2
Use triangular shapes to create the general shape of the lips as shown. Add an ellipse in the bottom half of the circle.
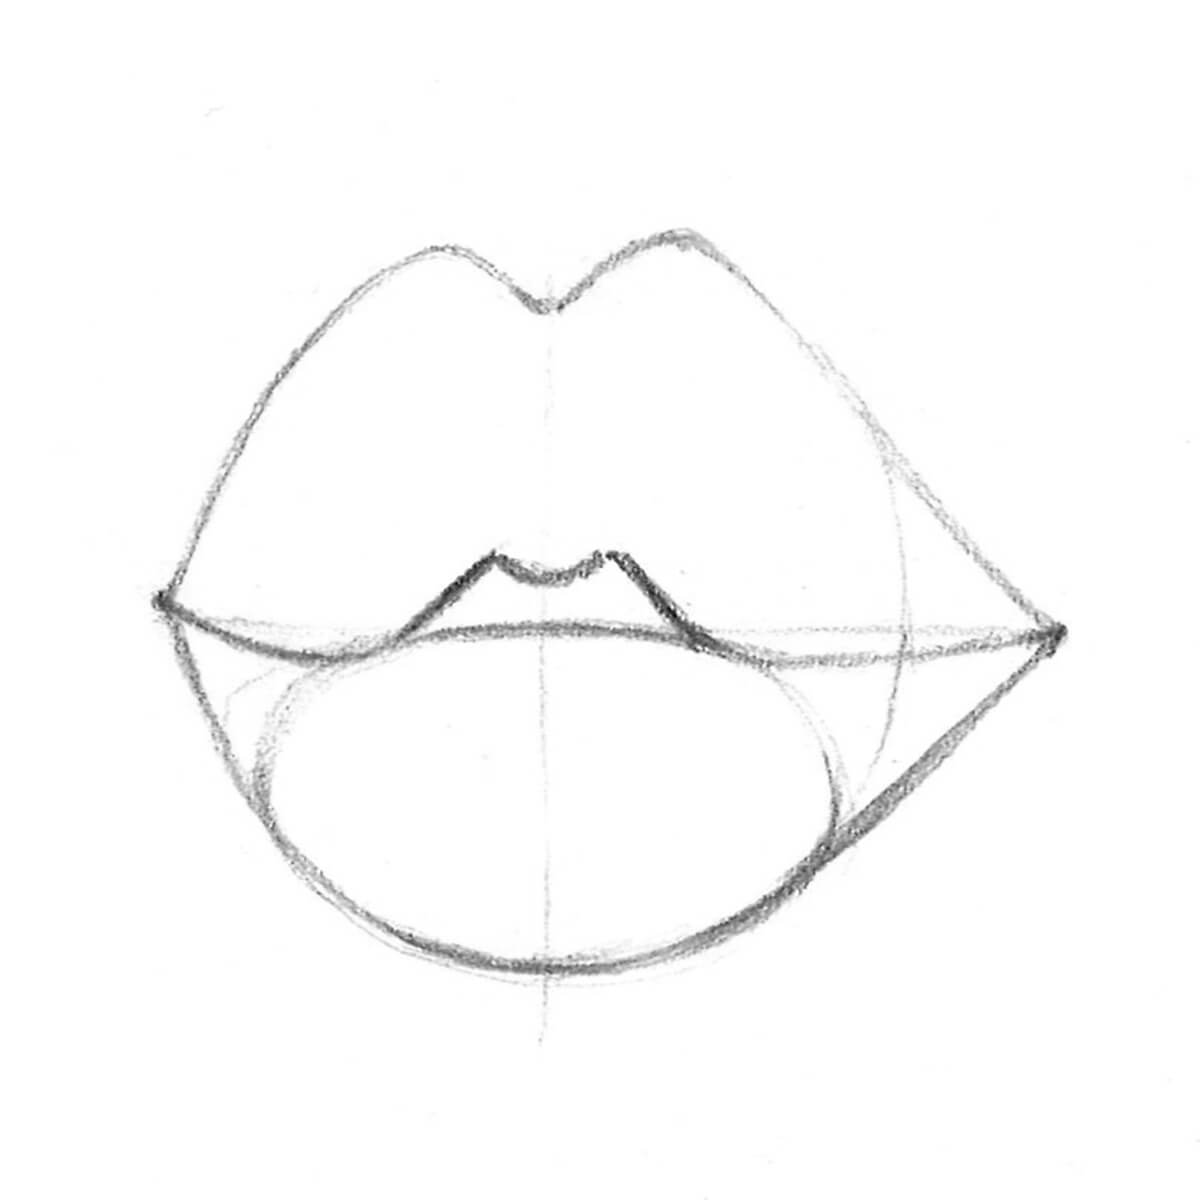
Step 3
Outline the sketch. Smooth out the lines and round the corners. Add a small protrusion at the bottom of the upper lip.
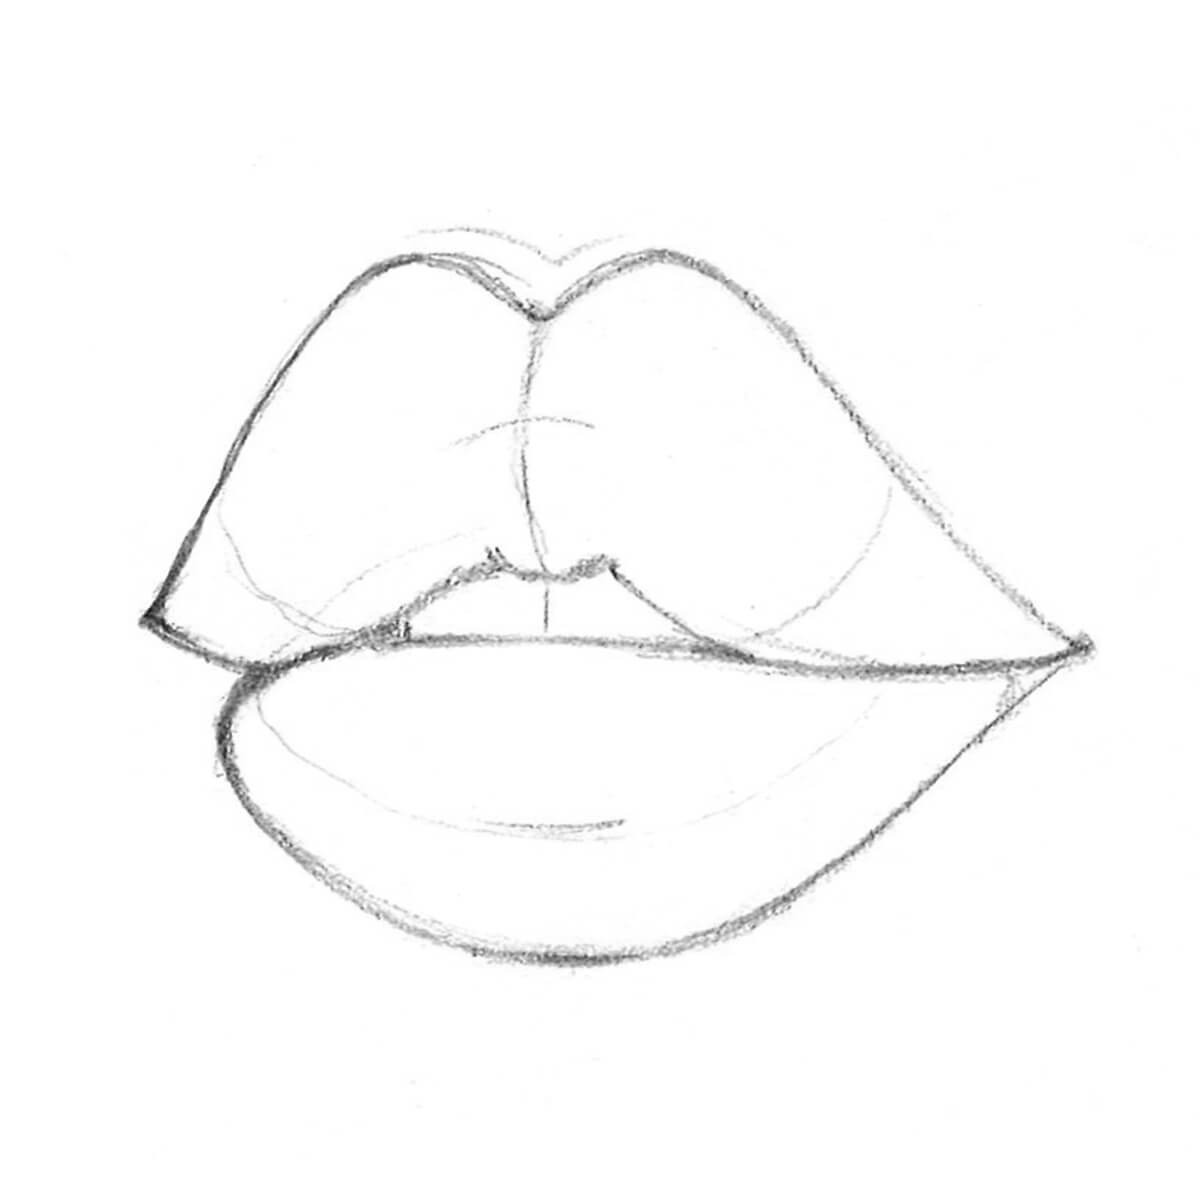
Step 4
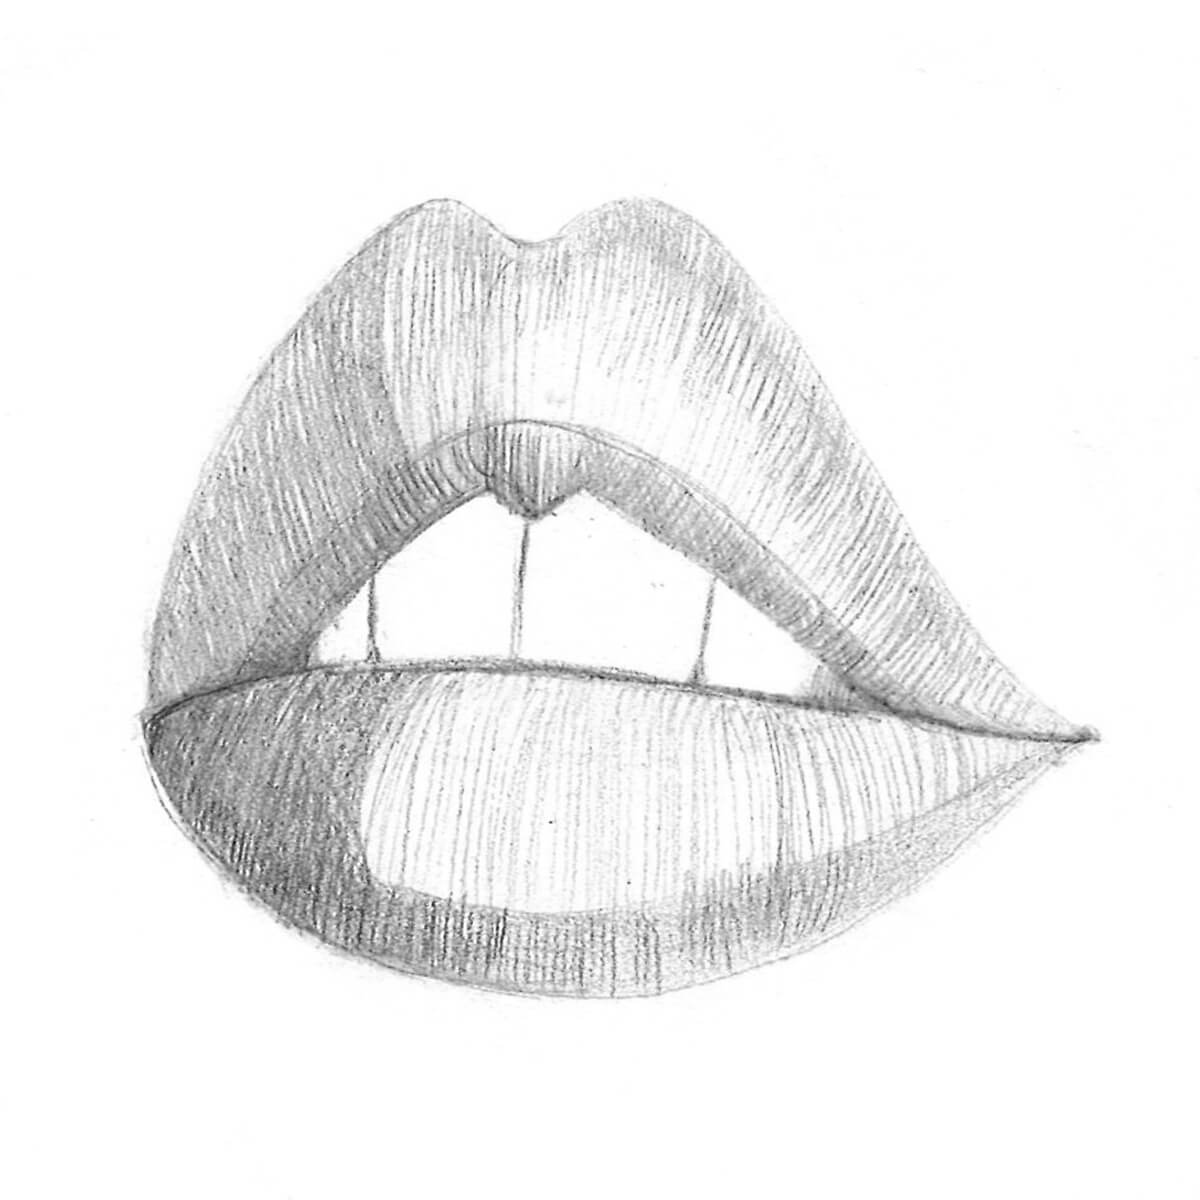
Erase the extra construction lines and add visible teeth.
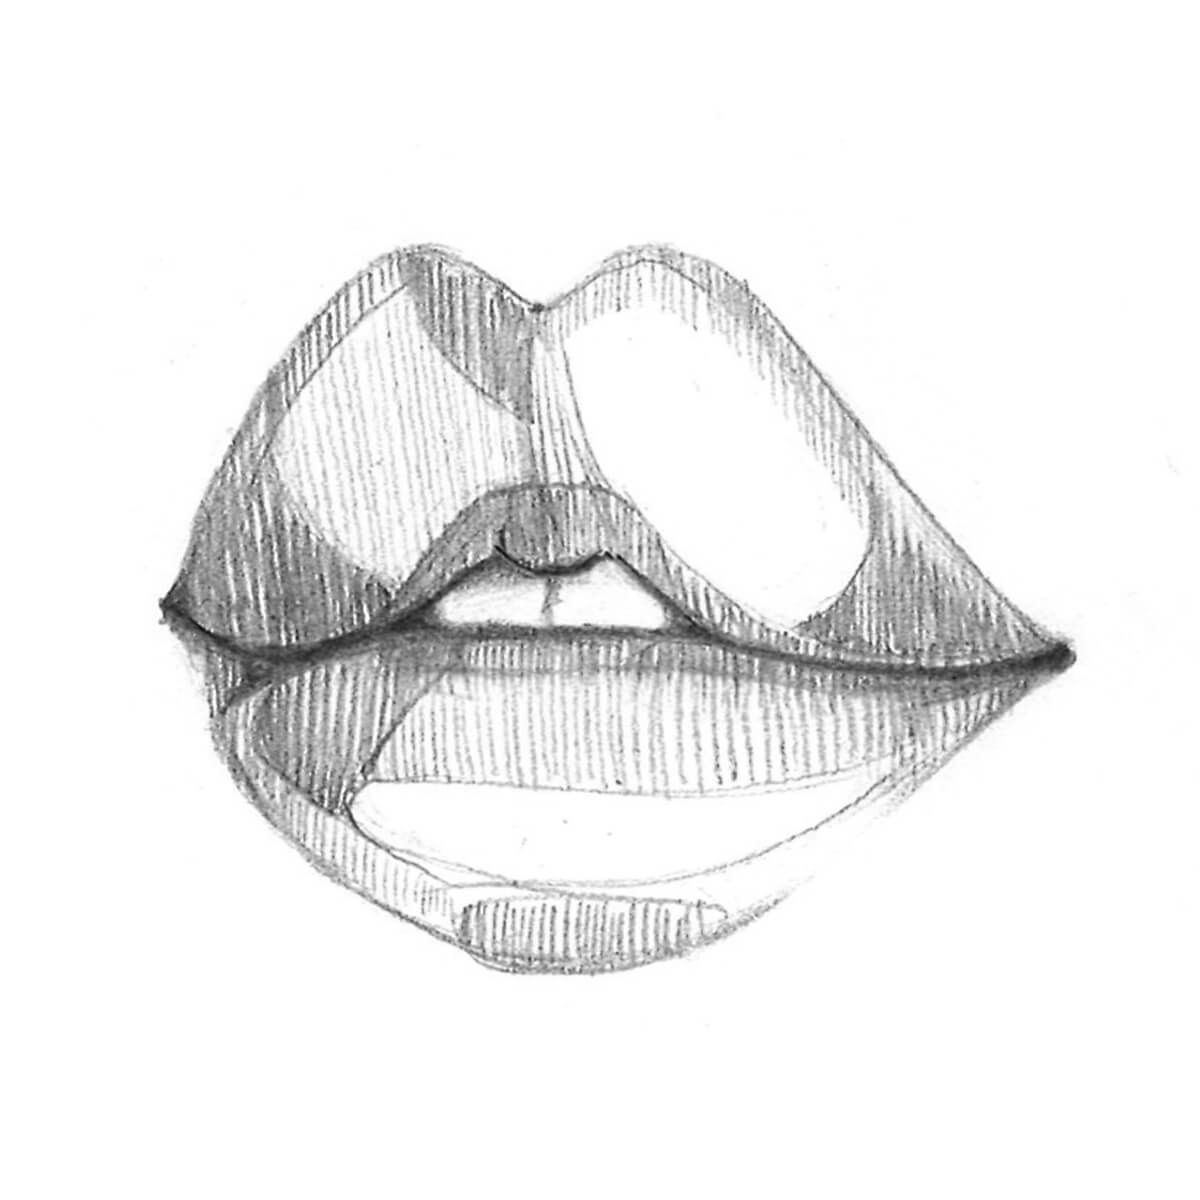
Step 5
The lips will be shaded according to their shape to show their volume and how the light falls. The light source is coming from the top right. The corners of the lips will be the darkest part.
How to Draw Lips with Visible Teeth

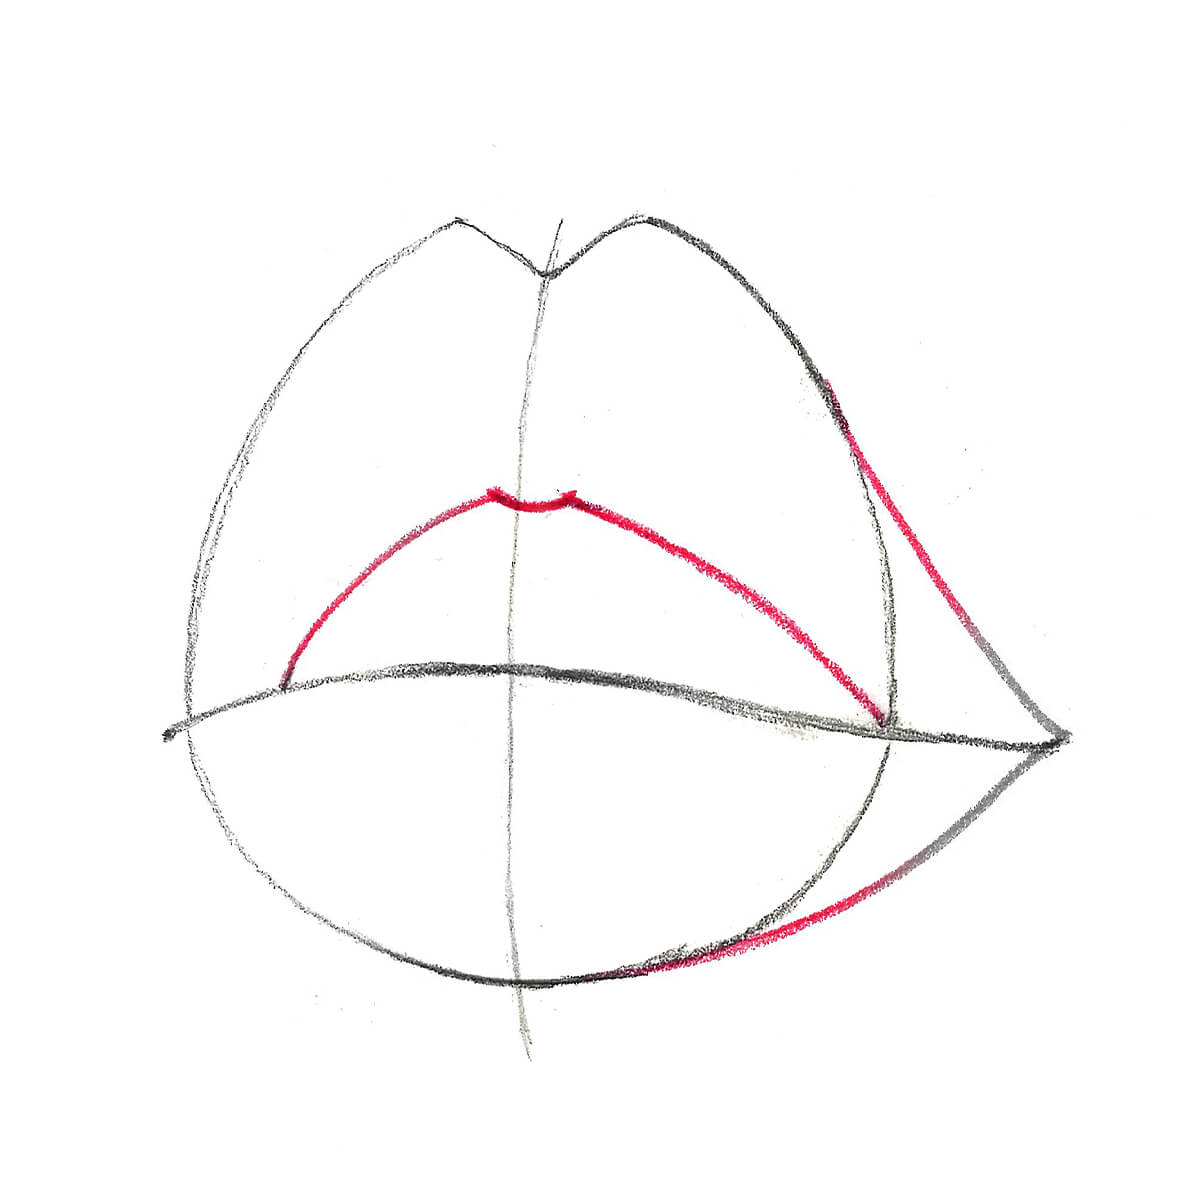
Step 1
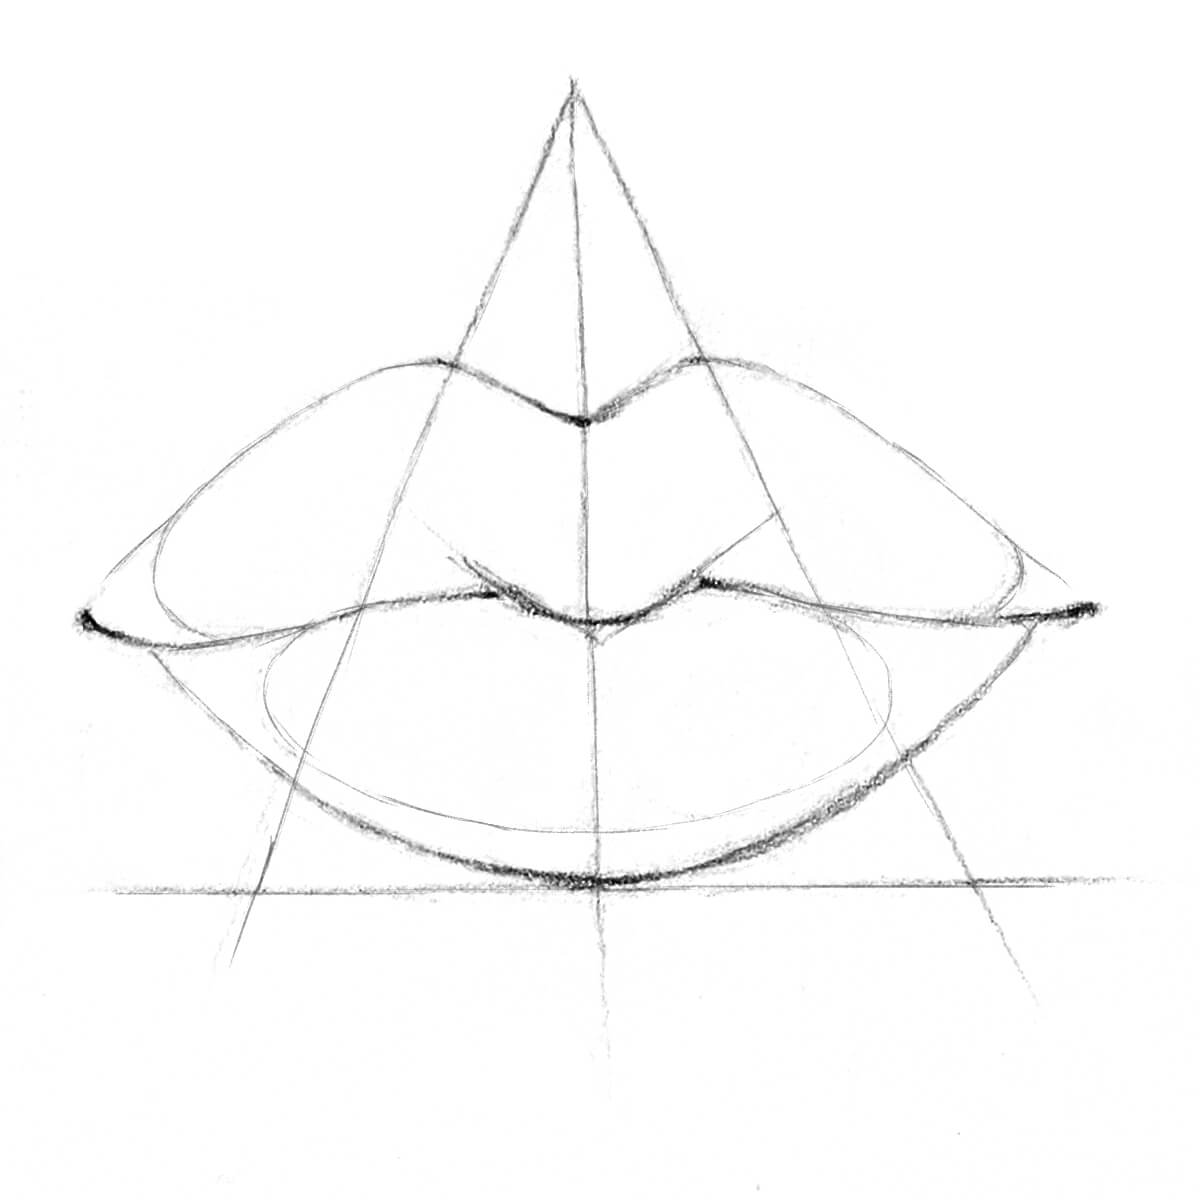
Draw a vertical arc and mark the top and bottom. Draw a horizontal arc perpendicular to the vertical arc and make sure that the top is larger than the bottom.
Step 2
Draw an oval along the top marks. The left and right sides of the oval will be about the same distance.
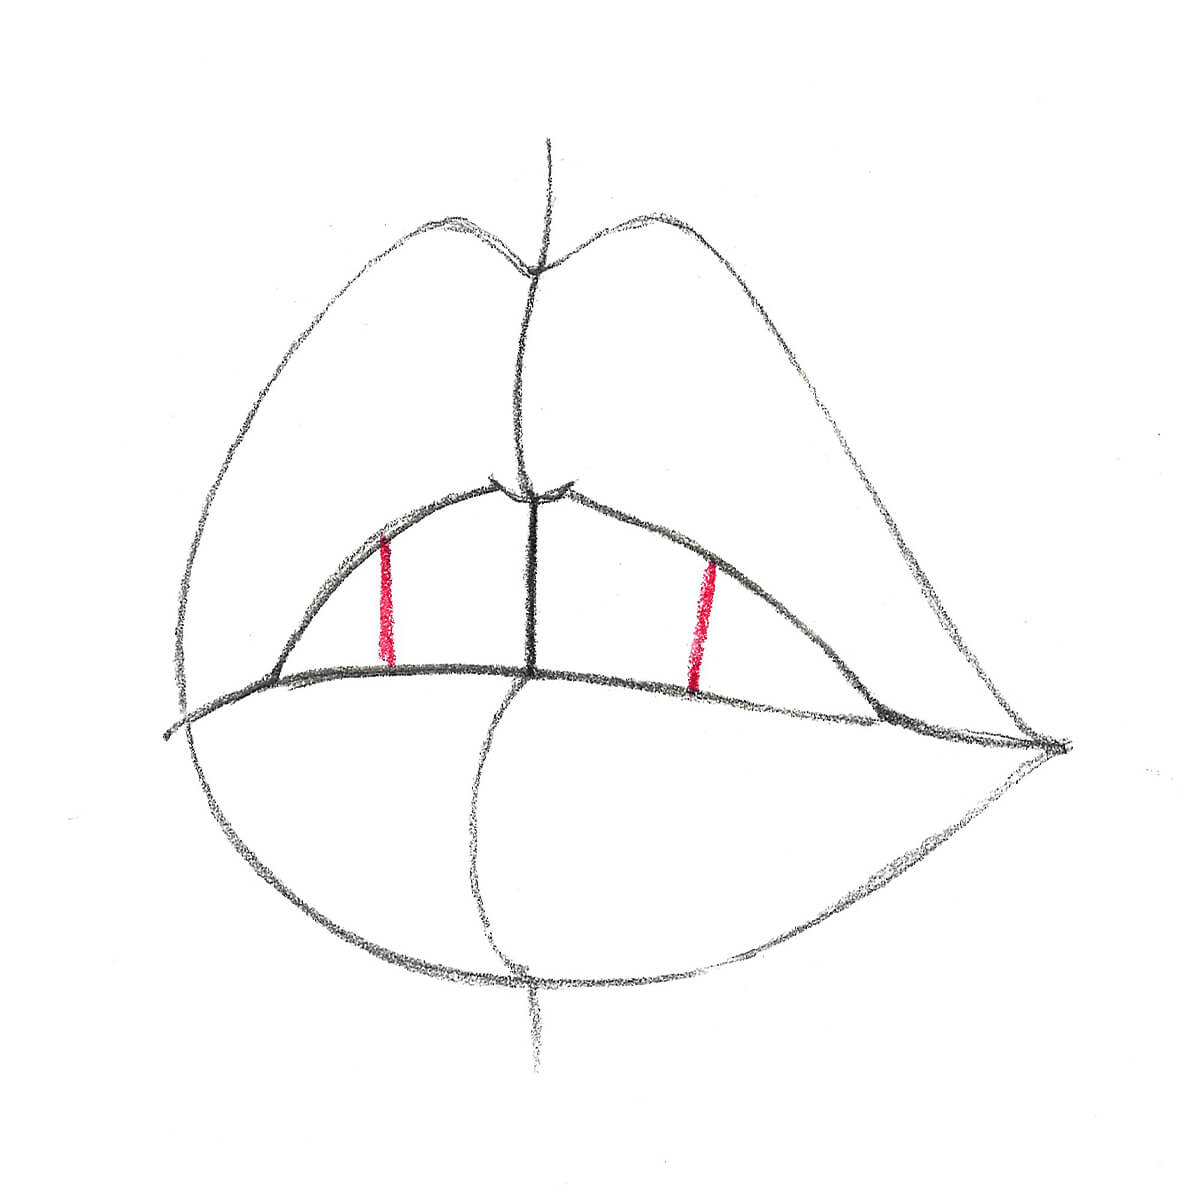
Step 3
Draw the cupid's bow of the lips at the top of the oval.
Step 4
Draw a semi-circle to represent the top lip. Connect the top and bottom of the oval with a triangular shape on the right.
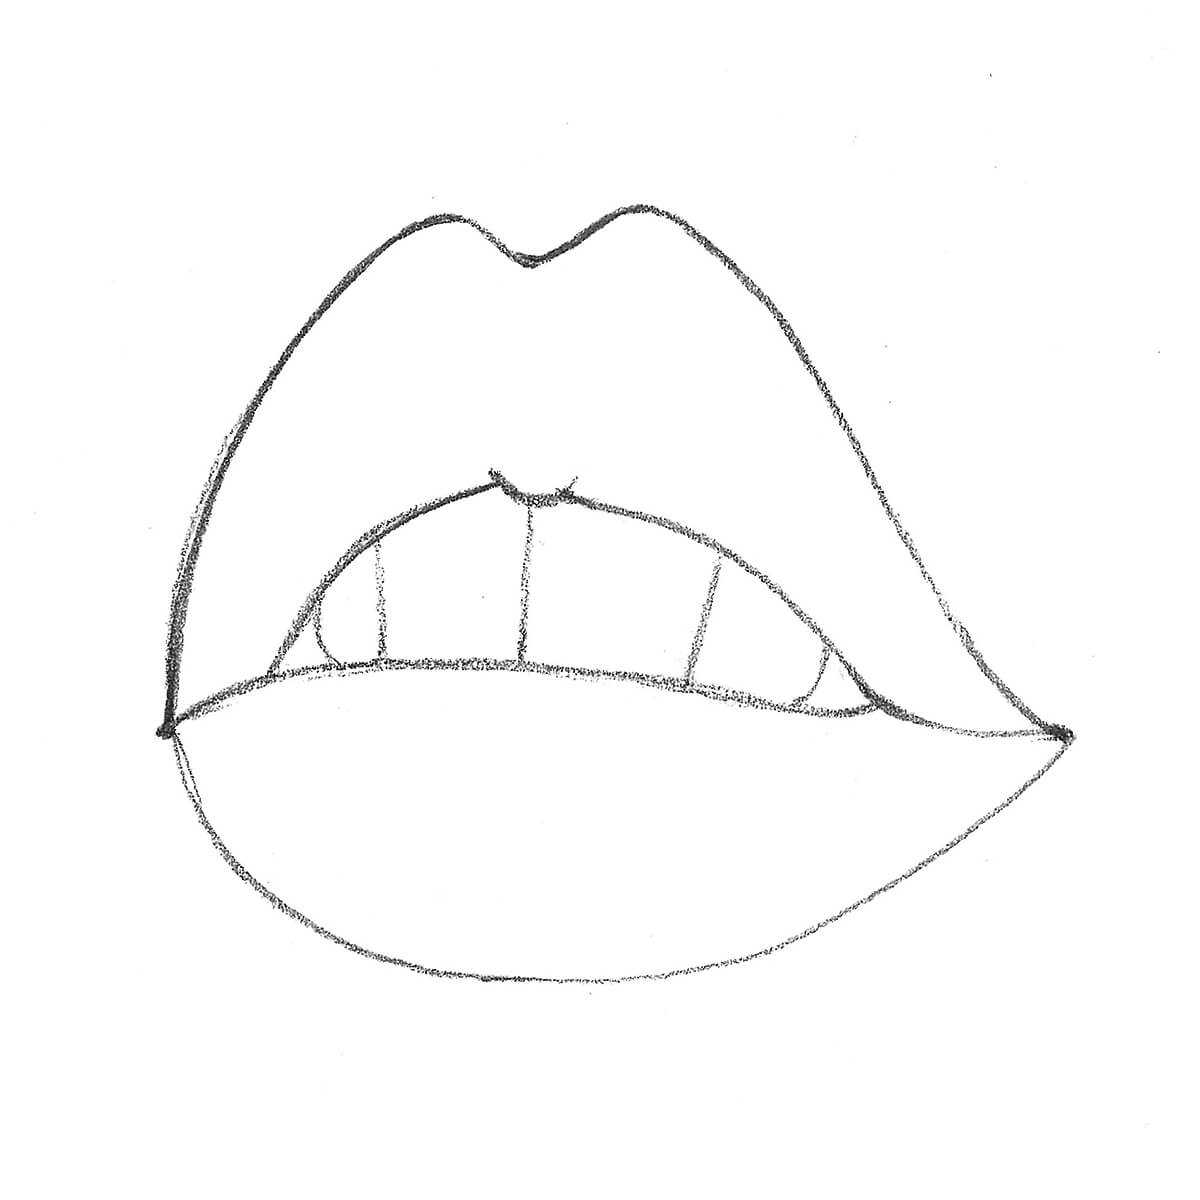
Step 6
Now that we've finished the line drawing of the lips, we're ready to move on to shading. Lighten the construction lines and get ready to add tones to your drawing.
Step 7
To help you see the volume of the lips, add some vertical semi-circular lines and arcs on the lips.
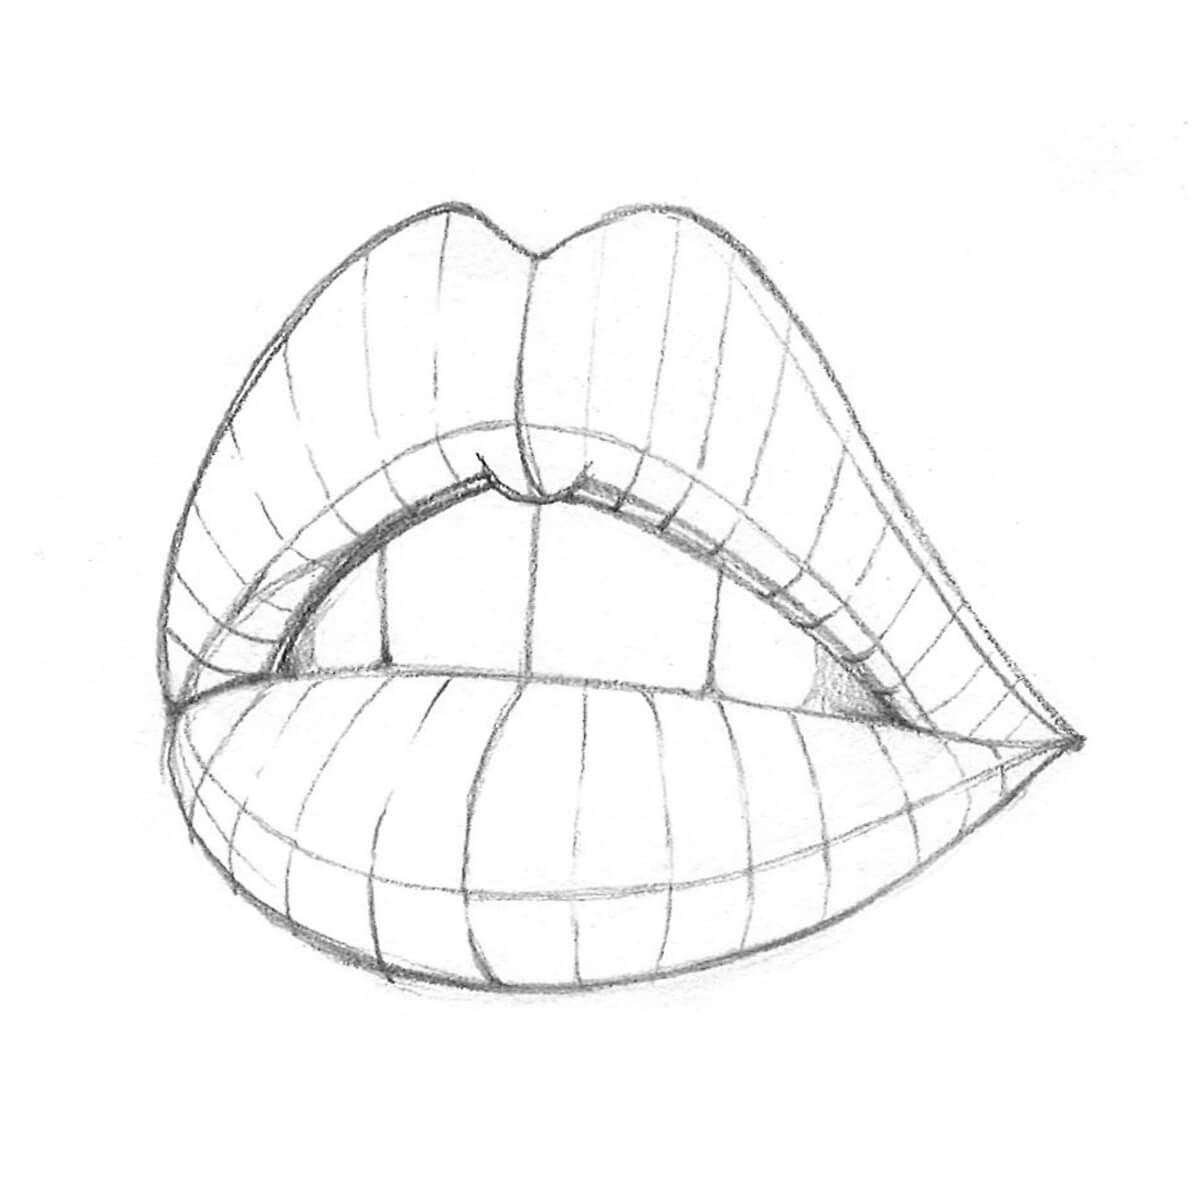
Step 8
Start shading. Use an HB pencil to work around the lips. Next, start shading the bottom lip, along the separated arc. Darken the left side to add more expressive shading.
Step 9
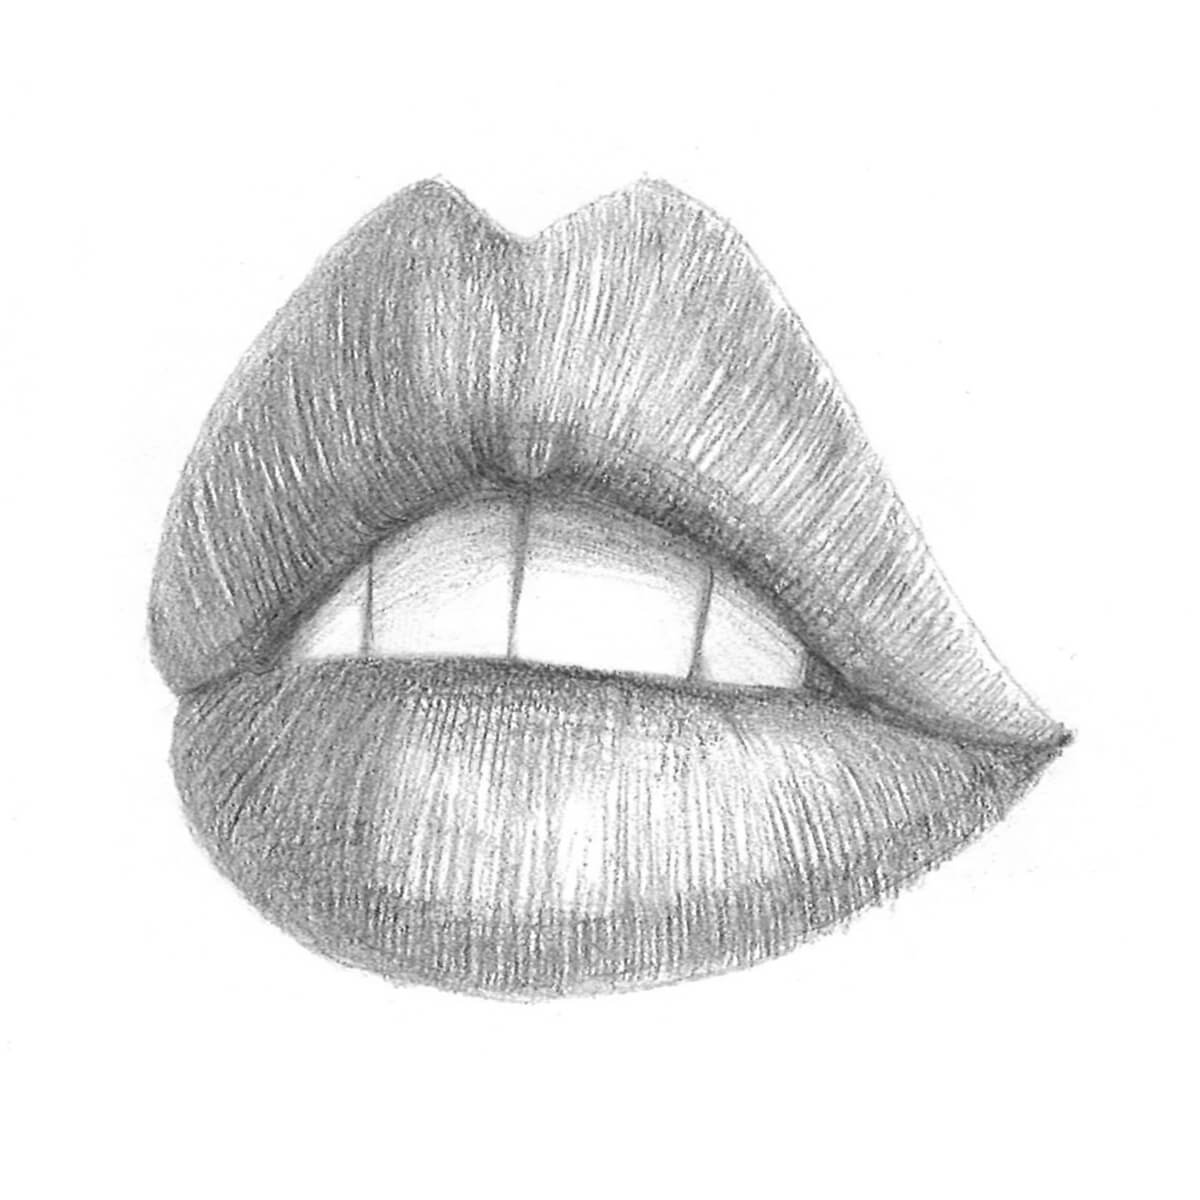
Add darker shading and mid-tones. Add a shadow on the teeth from the upper lip.
Step 10
Increase the contrast and add the lines on the upper lip.
How to Draw Lips in the Frontal View
Step 1
Draw a vertical line - this will be the middle of the lips. Mark the corners of the lips. Make sure they're equidistant from the center of the lips. Draw an isosceles triangle for the cupid's bow at the top. Complete the rest of the lips.
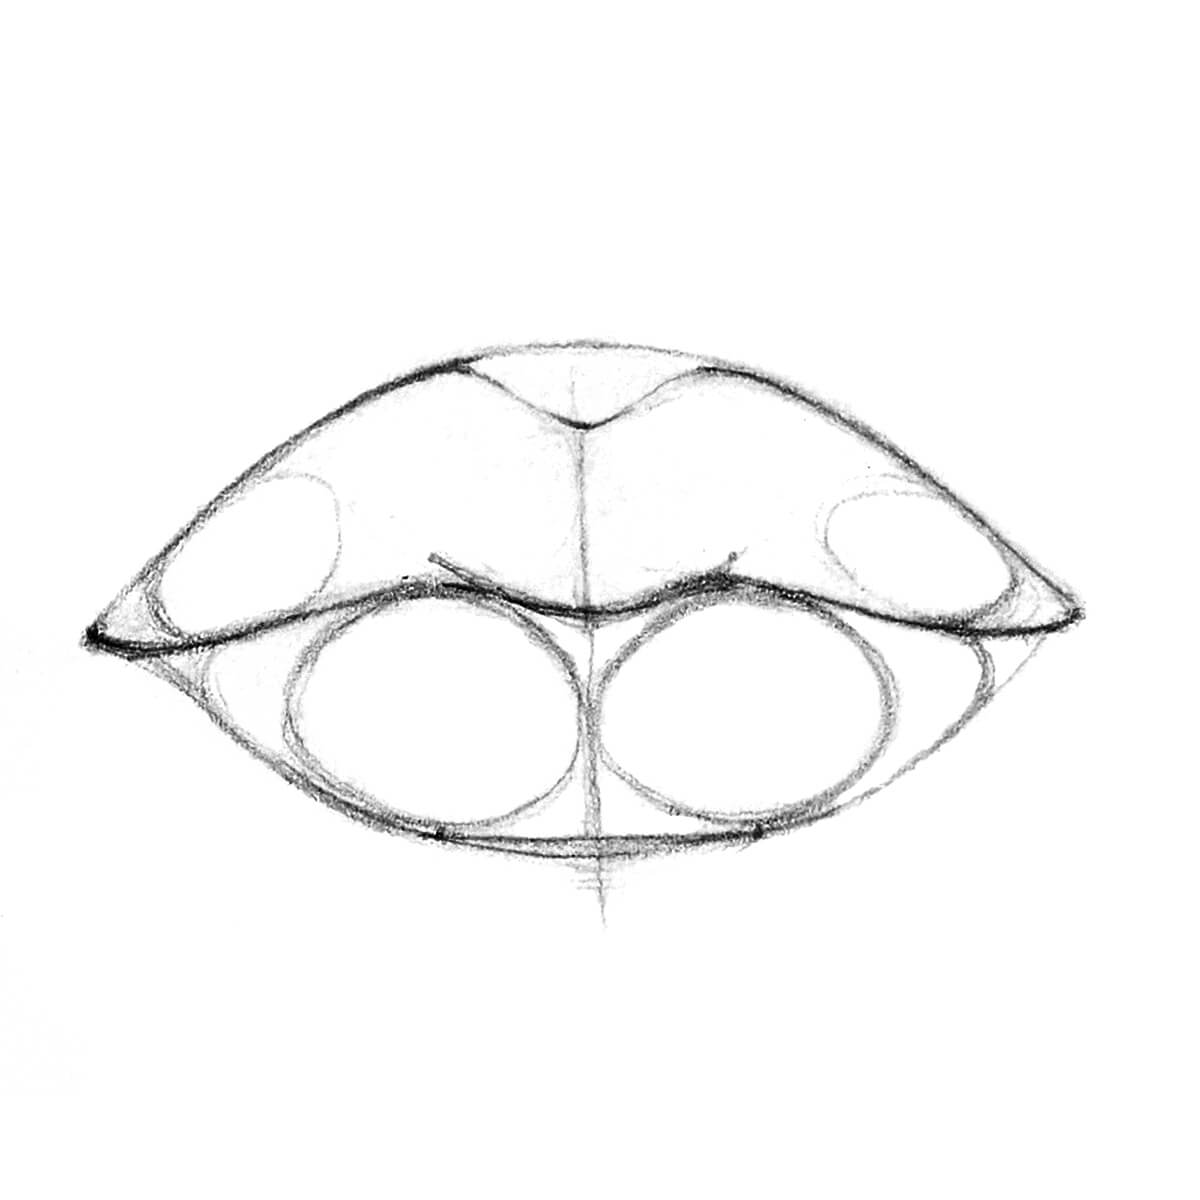
Step 2
Refine the outline and show the volume in the lower lip with two ovals.
Step 3
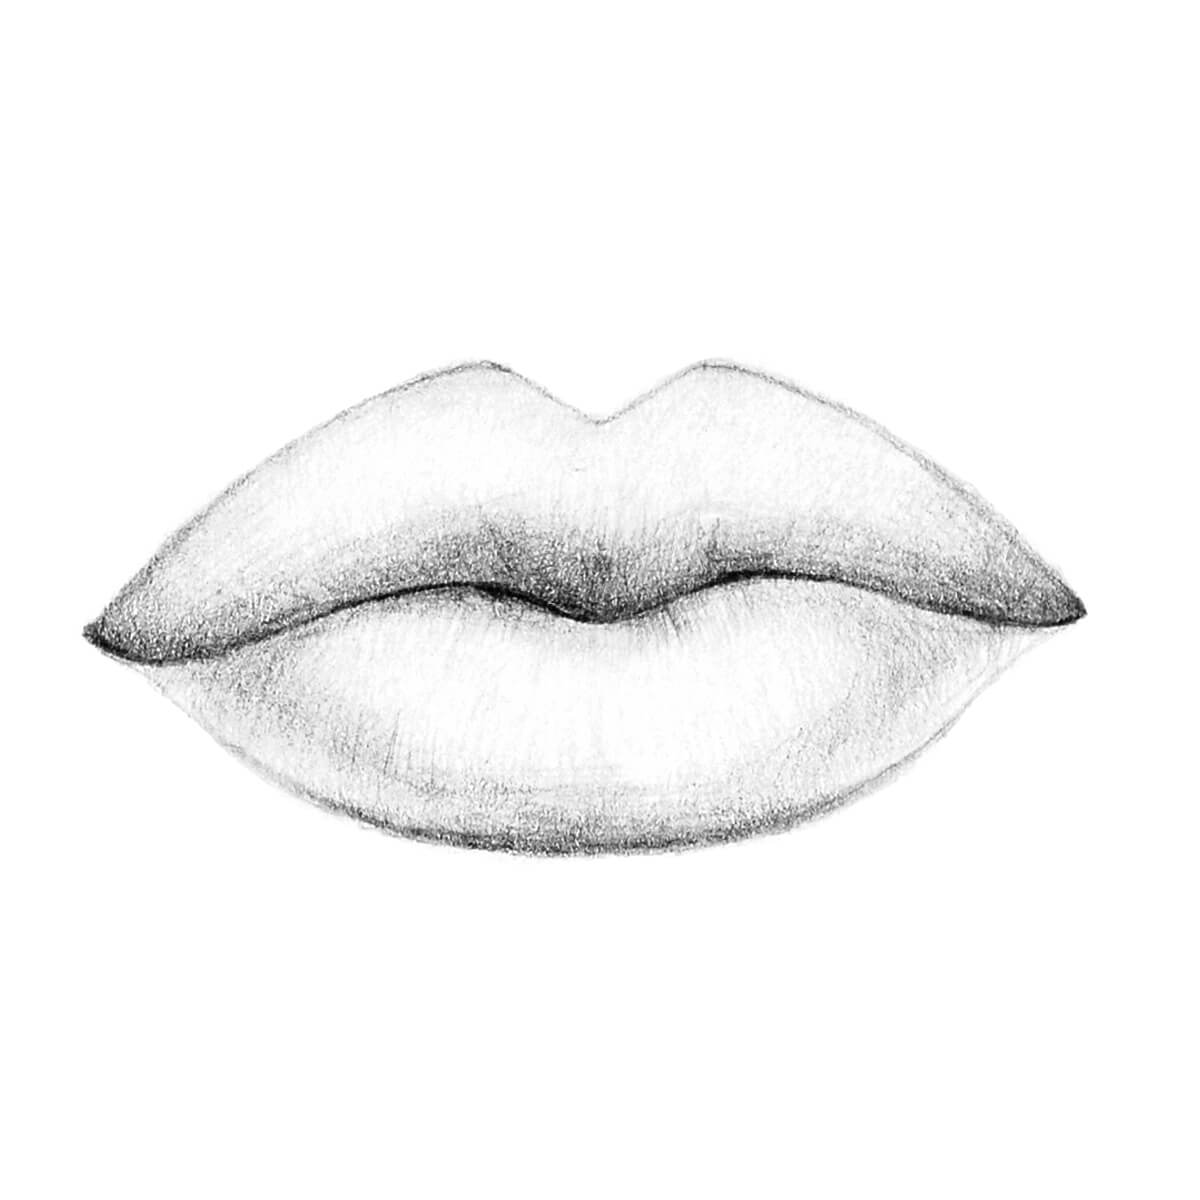
Add a shadow for the upper and lower lips with the HB pencil.
Step 4
Add some shading and tone to the whole drawing.
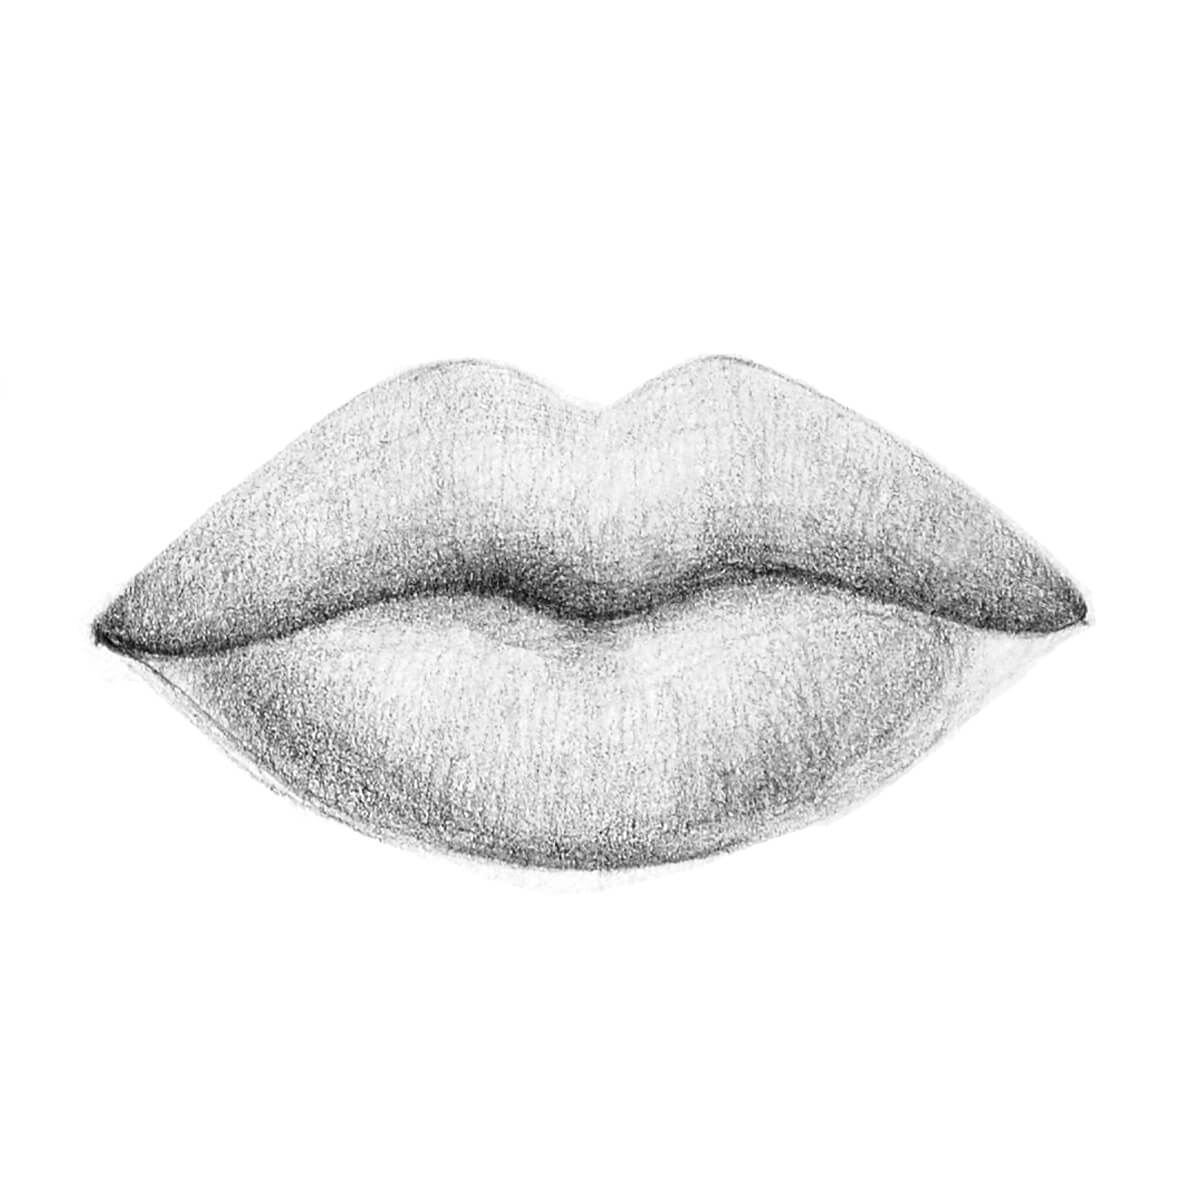
Step 5
Add the lines on the lips.
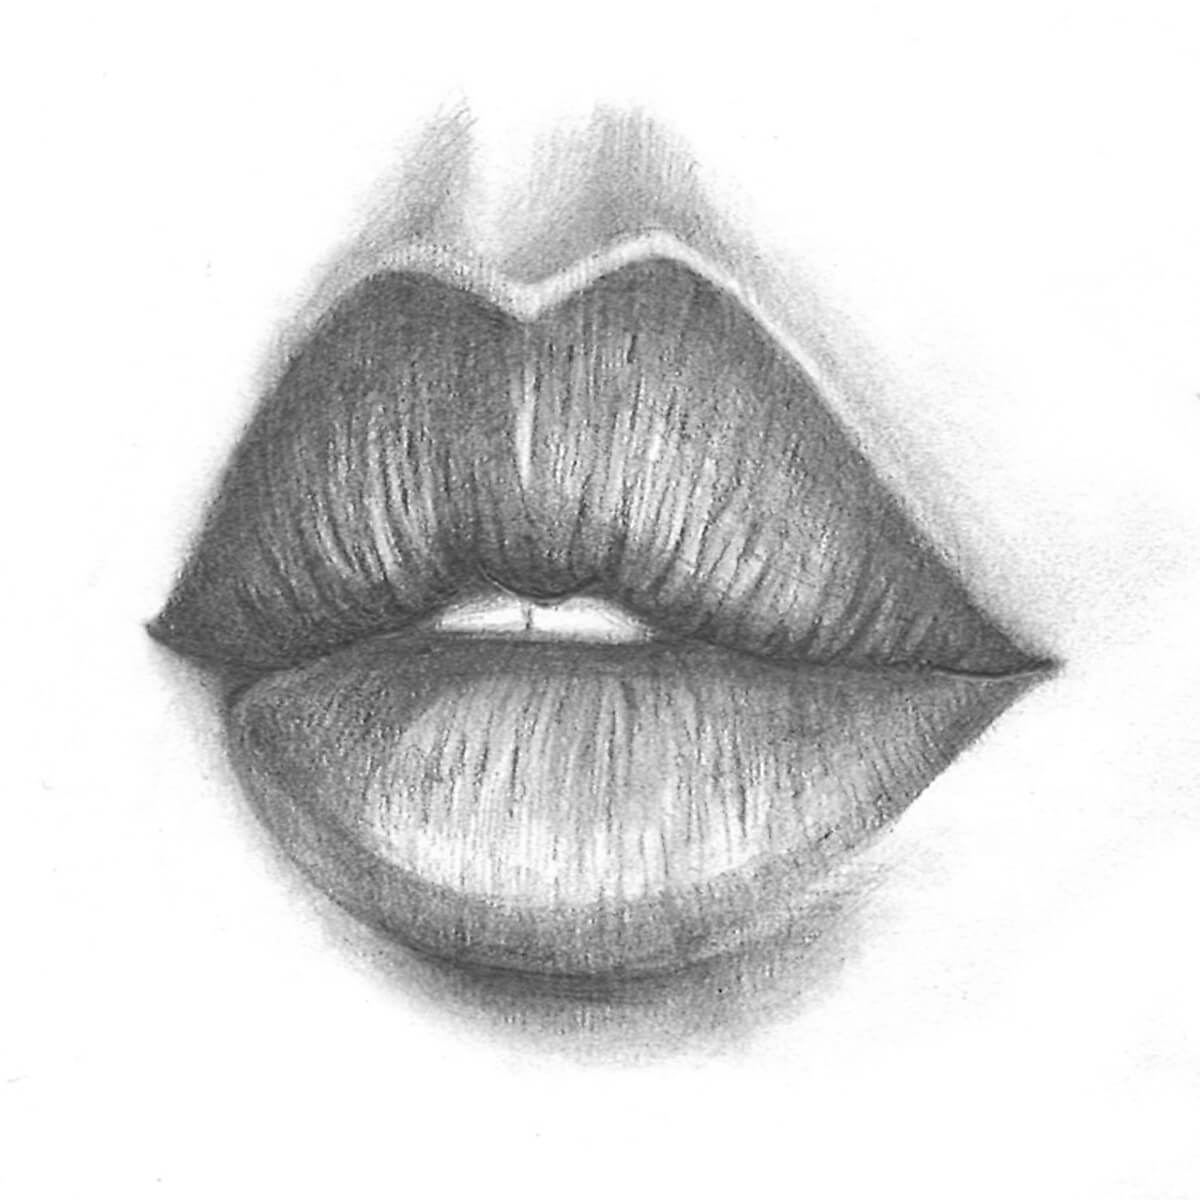
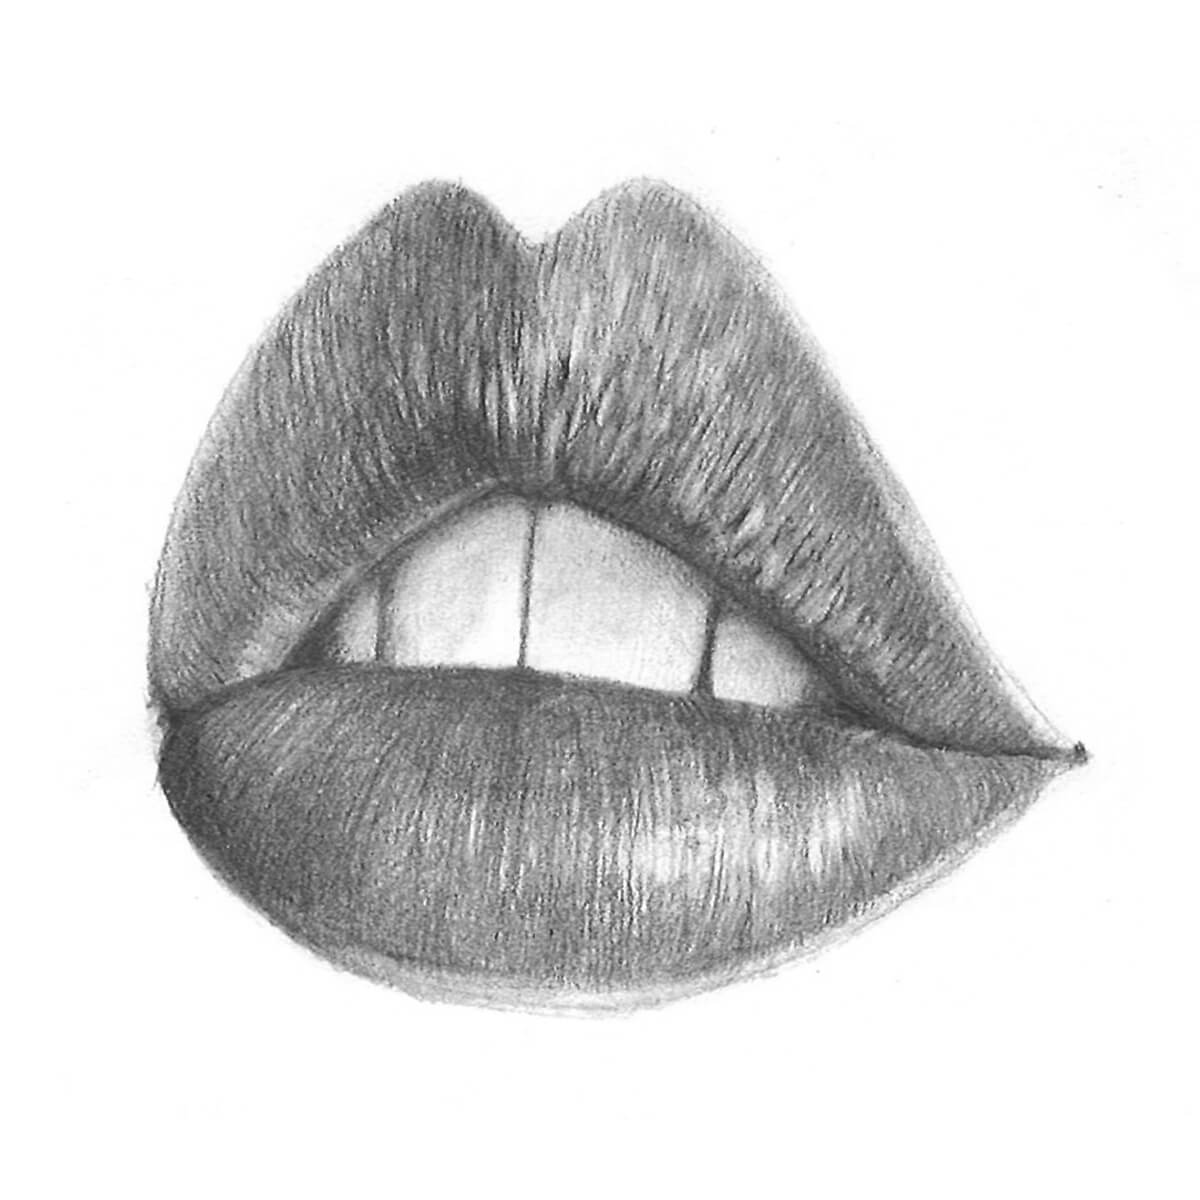
Step 6
Add the final touch, work on the subtlety of the tone, softening the shading lines and defining the accents of the lip's outline.
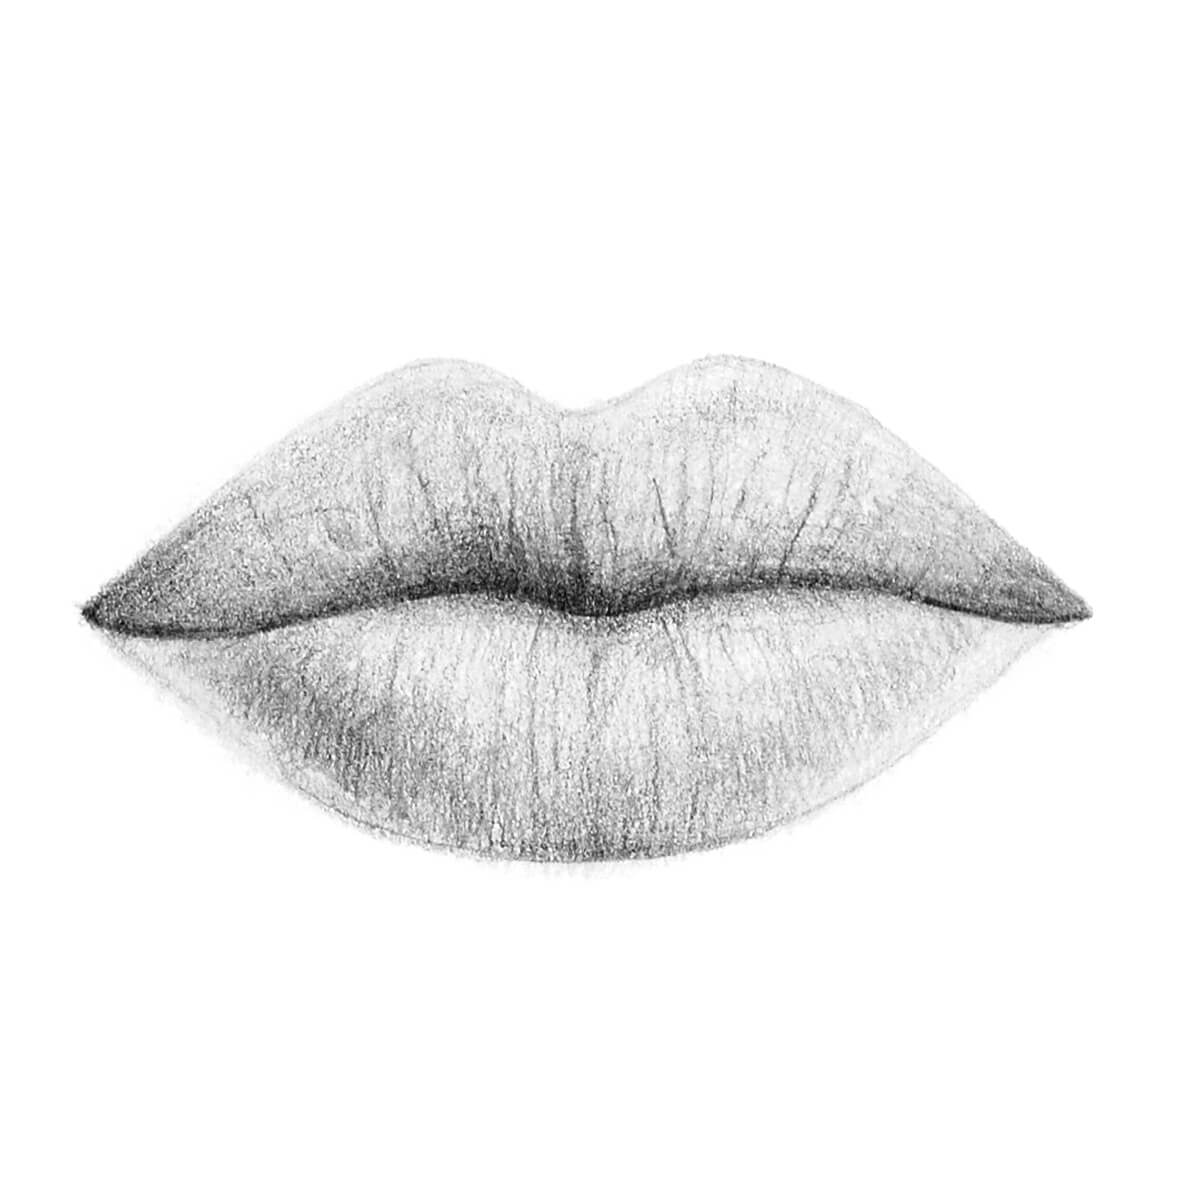
Your Finished Pencil Drawings of Lips
Now you know three different ways to draw lips! You can use these steps to add lips to a variety of portraits or you can even practice drawing them on their own. Some artists really enjoy just focusing on one facial feature, like the lips, and adding a unique twist. Once you're feeling comfortable with the shape and shading of lips, you can start moving on to adding your own style and trying out other positions when drawing lips.
Have fun sketching, and check out some of the products featured in this how-to!
Professional Drawing Pencil Set, 33 Pieces
Eraser Pencil Kit
Mini Sketchbook, 3.5" x 5.5", 88 Pages
#2 HB Wood Pencils
Comments
marina - August 31, 2022you are a great teacher and best person, to share all this excellent helpful material. thank you very much!
Arteza - April 28, 2022Hey Tiza,
We're so glad you enjoyed this blog and found this how-to helpful. Keep creating! :)
Vanshika Sharma - April 28, 2022Wow
I won the coemption
Thank's
Tiza Perez - April 28, 2022Thank you so much. Much needed info.
Lolac aretz - April 28, 2022This wasn't that helpful, it is very confusing. But I appreciate the effort!
Arteza - April 28, 2022Hi Ashlynn, we're so happy you love it!
Arteza - April 28, 2022Hi there,
We're happy we were able to help! We're always here for our fellow artists!
Ashlynn Ortiz - April 28, 2022This blog post was so helpful for me! Thanks so much Arteza!
Love, from Ashlynn!
Bronwyn Burke - April 28, 2022Awesome! This is super helpful!
Source: https://arteza.com/blogs/articles/how-to-draw-lips-step-by-step
0 Response to "Easy Step by Step How to Draw Misconception"
Post a Comment